Deflasking seedlings
necessary tools
- forceps
- if you have glass-bottles: a chisel and a hammer
necessary articles of consumption
- seedling media
- kitchen paper
- optional: disinfectant solution (Chinosol)
When should I deflask my seedlings ?
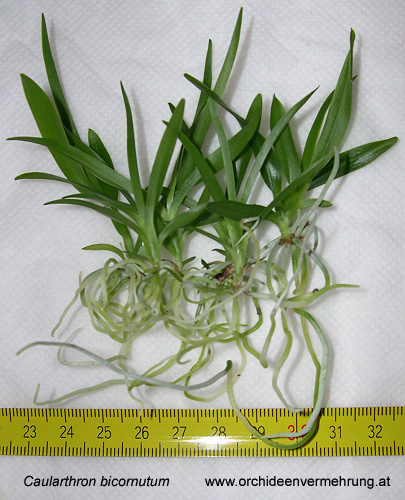
Let your seedlings grow on the media as long as they don't harm themself and they grow well. The bigger they are the easier they survive deflasking. The best season for deflasking is spring.
Important to know
Orchid seedlings grow up under sterile conditions on media containing all necessary nutrients to reduce the in vitro time to a minimum. When we take the seedlings out of the sterile enviroment (the flask), they get in contact with a lot of stress causing things (fungi, bacteria, ...). The seedlings need some time to adapt to this harder conditions and we should try to do that as mild as possible. Before you start deflasking, you should find out how your orchids grow in their natural habitat and get an idea how to grow them at home. Plants without water storage tissues (e.g. Masdevallias), which live in areas with constant humid conditions, require more humidity than succulent orchids (e.g. Cattleyas, Laelias).
Most seedlings die because of to much water!!!
Deflasking procedure
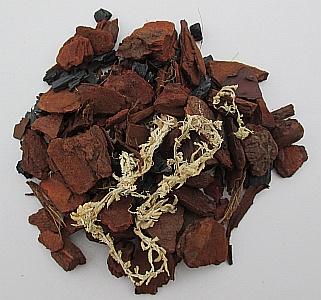
Before you start to take the seedlings out of their flasks, the seedling media has to be prepared. We use a "standard" bark based orchid media where we break the bigger pieces to have an equally fine grained mix. The following photo shows our mix.
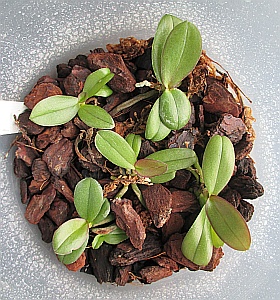
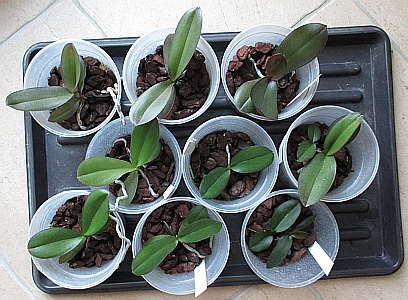
When you finish media preparation you can start to moisten a piece of kitchen paper. Next, if Chinosol is avialable, prepare the 0,05% disinfectant solution by dissolving a 0,5g tablet in 1 liter of water. Now you can open the flask and take the seedlings out without demaging their roots. If you have a bottle with a thin neck, it is best to cut off the bottom of the bottle by using a thin chisel. After taking the seedlings out of the flasks you should remove all the media where the seedlings were growing in. Warm water (about 20°) helps you to remove small media pieces. After cleaning the seedling try to separate them without demaging them. If it is not possible, don't worry - leave them together. Next put the seedlings for 15 minutes in your disinfectant solution. While the seedlings are swimming in the disinfectant solution, the community pots can be prepared. Put the seedling mix into the pot till the pot is filled for about 50%. When the 15 minutes of disinfection elapsed, start to pot the seedlings with some additional seedling mix. Orchid babies want to be potted close together.

Further care
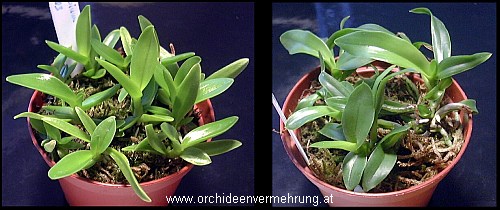
Orchid seedlings do not have water storing organs (e.g. pseudobulbs ). As a result of that, their roots should never dry out completely. We rinse our community pots once a week with tap water and apply a soft fertilizer solution (about 50% of the recommended concentration). Providing nutrients continuously supports the young plants to grow fast and healthy. Daily a very small quantity of tap water gets applied with a pump sprayer to avoid drying-out of the young short roots.
Be careful to not over water them !
The seedlings want to have as much light as possible but do not put them into the direct sun.
The care of repotted seedlings is the same as for seedlings in their community pot.
Author: Thomas Ederer