Media preparation
necessary tools
- pot (to prepare the media)
- kitchen stove
- pressure cooker
- balance
- glas funnel
- something to stir the cooking media (e.g. old spoon)
necessary articles of consumption
- flasks (jars, test tubes, ...)
- paper towels
- distilled water
- cotton (for test tubes)
- labels
- gelling agent (if it´s not included in the media)
- media
- aluminium foil
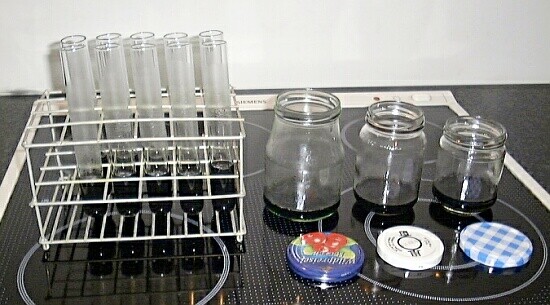
Culture vessels for sowing seeds (motherflasks)
We prever test tubes for seed sowing because when you distribute your seeds in 3 - 5 test tubes instead of putting them all together in one flask, a contamination will most likely kill only the content of a few of your test tubes instead of all seeds in the flasks. Furthermore, because of their length test tubes do do not get to hot while they are lying in the steam when you are working above boiling water.
Culture vessels for replating
For replating the flasks should be high enough (about 10 cm) to provide enough space for the seedlings. The suitable diameter of the opening depends on your flasking environment. In a laminar flow hood wider openings can be used than in the steam above a pot with boiling water.
Preparing the flasks
Before you can use your flasks all leftovers and labels need to get removed.
IMPORTANT: Check if the flasks can resist 121 °C, this is the temperature they will be exposed to during sterilization in your pressure cooker.
Media preparation
1. Weigh out the necessary quantity of media powder.
2. If your media does not already contain a gelling agent (e.g. agar-agar) you have to add it. For our media we use 6 - 7g agar-agar per liter media.
3. Put the required distilled water in your pot and add the media powder. Stir the solution till the powder is completely dissolved.
4. Measure the pH and adjust it to 5,6 (use HCL to decrease pH or NaOH to increase pH).
Sigma P6668 media is adjusted, so measuring pH is not necessary.
5. Now, place your pot on the kitchen stove to heat the media.
6. As soon as the water starts boiling, stir the agar-agar powder in the water.
7. Let the media boil for about 2 minutes and keep stirring.
8. Dispense the media into your culture vessels. Watch out that the media does not get in contact with the opening of the flask, because this can help fungi and bacteria to contaminate this flask. A glass funnel is very helpful.
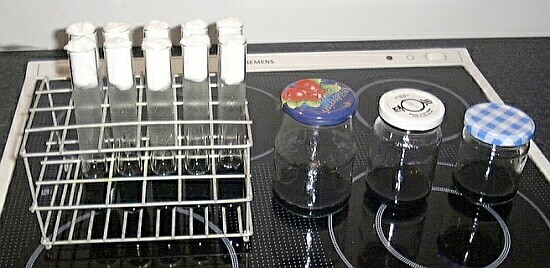
9. Screw the lids loosely on the flasks. If you use test tubes you have to put a cotton plug into each test tube.
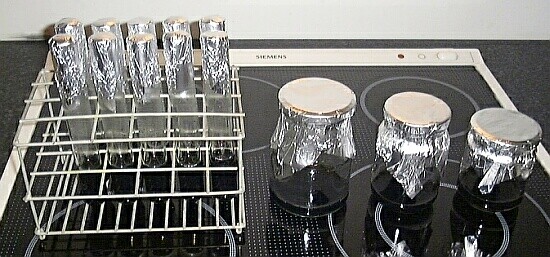
10. Now you have to cover your flasks with aluminium foil. If you use test tube we recommend to cover all tubes with an additional aluminium foil to make shure that the cottonplug stay in the tubes.
11. Put the required minimum quantity (should be listed somewhere in the manual) of water into your pressure cooker and add the insert/basket, which holds the flasks above the boiling water. Next put your flask into the insert/basket.
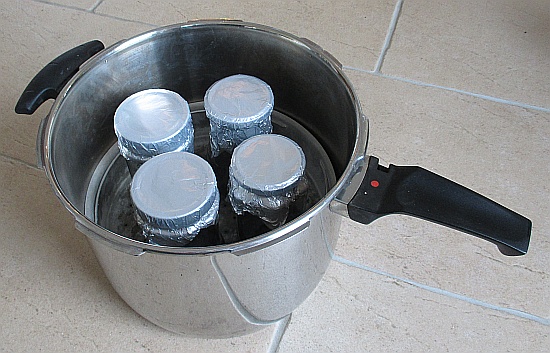
12. Close the pressure cooker and heat it till it reaches a pressure of about 0,8 bar and a temperature of about 120°. For our cooker this means that the second ring on the valve has to be visible. Hold this pressure and the temperature for 15 minutes.
13. After 15 minutes turn off the heating and let the cooker cool down over night.
14. Open the pressure cooker, take out one flask after each other and screw down the lids without lifting them. Write the current date on the aluminium foil and put all flasks in your growing room. The flasks are ready to use when they are still free of contamination after one week.
Making sterile distilled water
When you want to flask dry seeds, you should rinse them with sterile distilled water after sterilization. It is very easy to get sterile distilled water. Fill some distilled water in a screwable jar, screw the lid loosely on the flask and cover the flask with aluminium foil. Now you can sterilize the water together with your flasks containing the medias in the pressure cooker.
Media we use
| seed germination | P668 (Sigma P6668) |
| replating | P748 (Sigma P1056 without Agar-Agar) |
| node culture | P793 (Sigma P6793) |
Author: Thomas Ederer